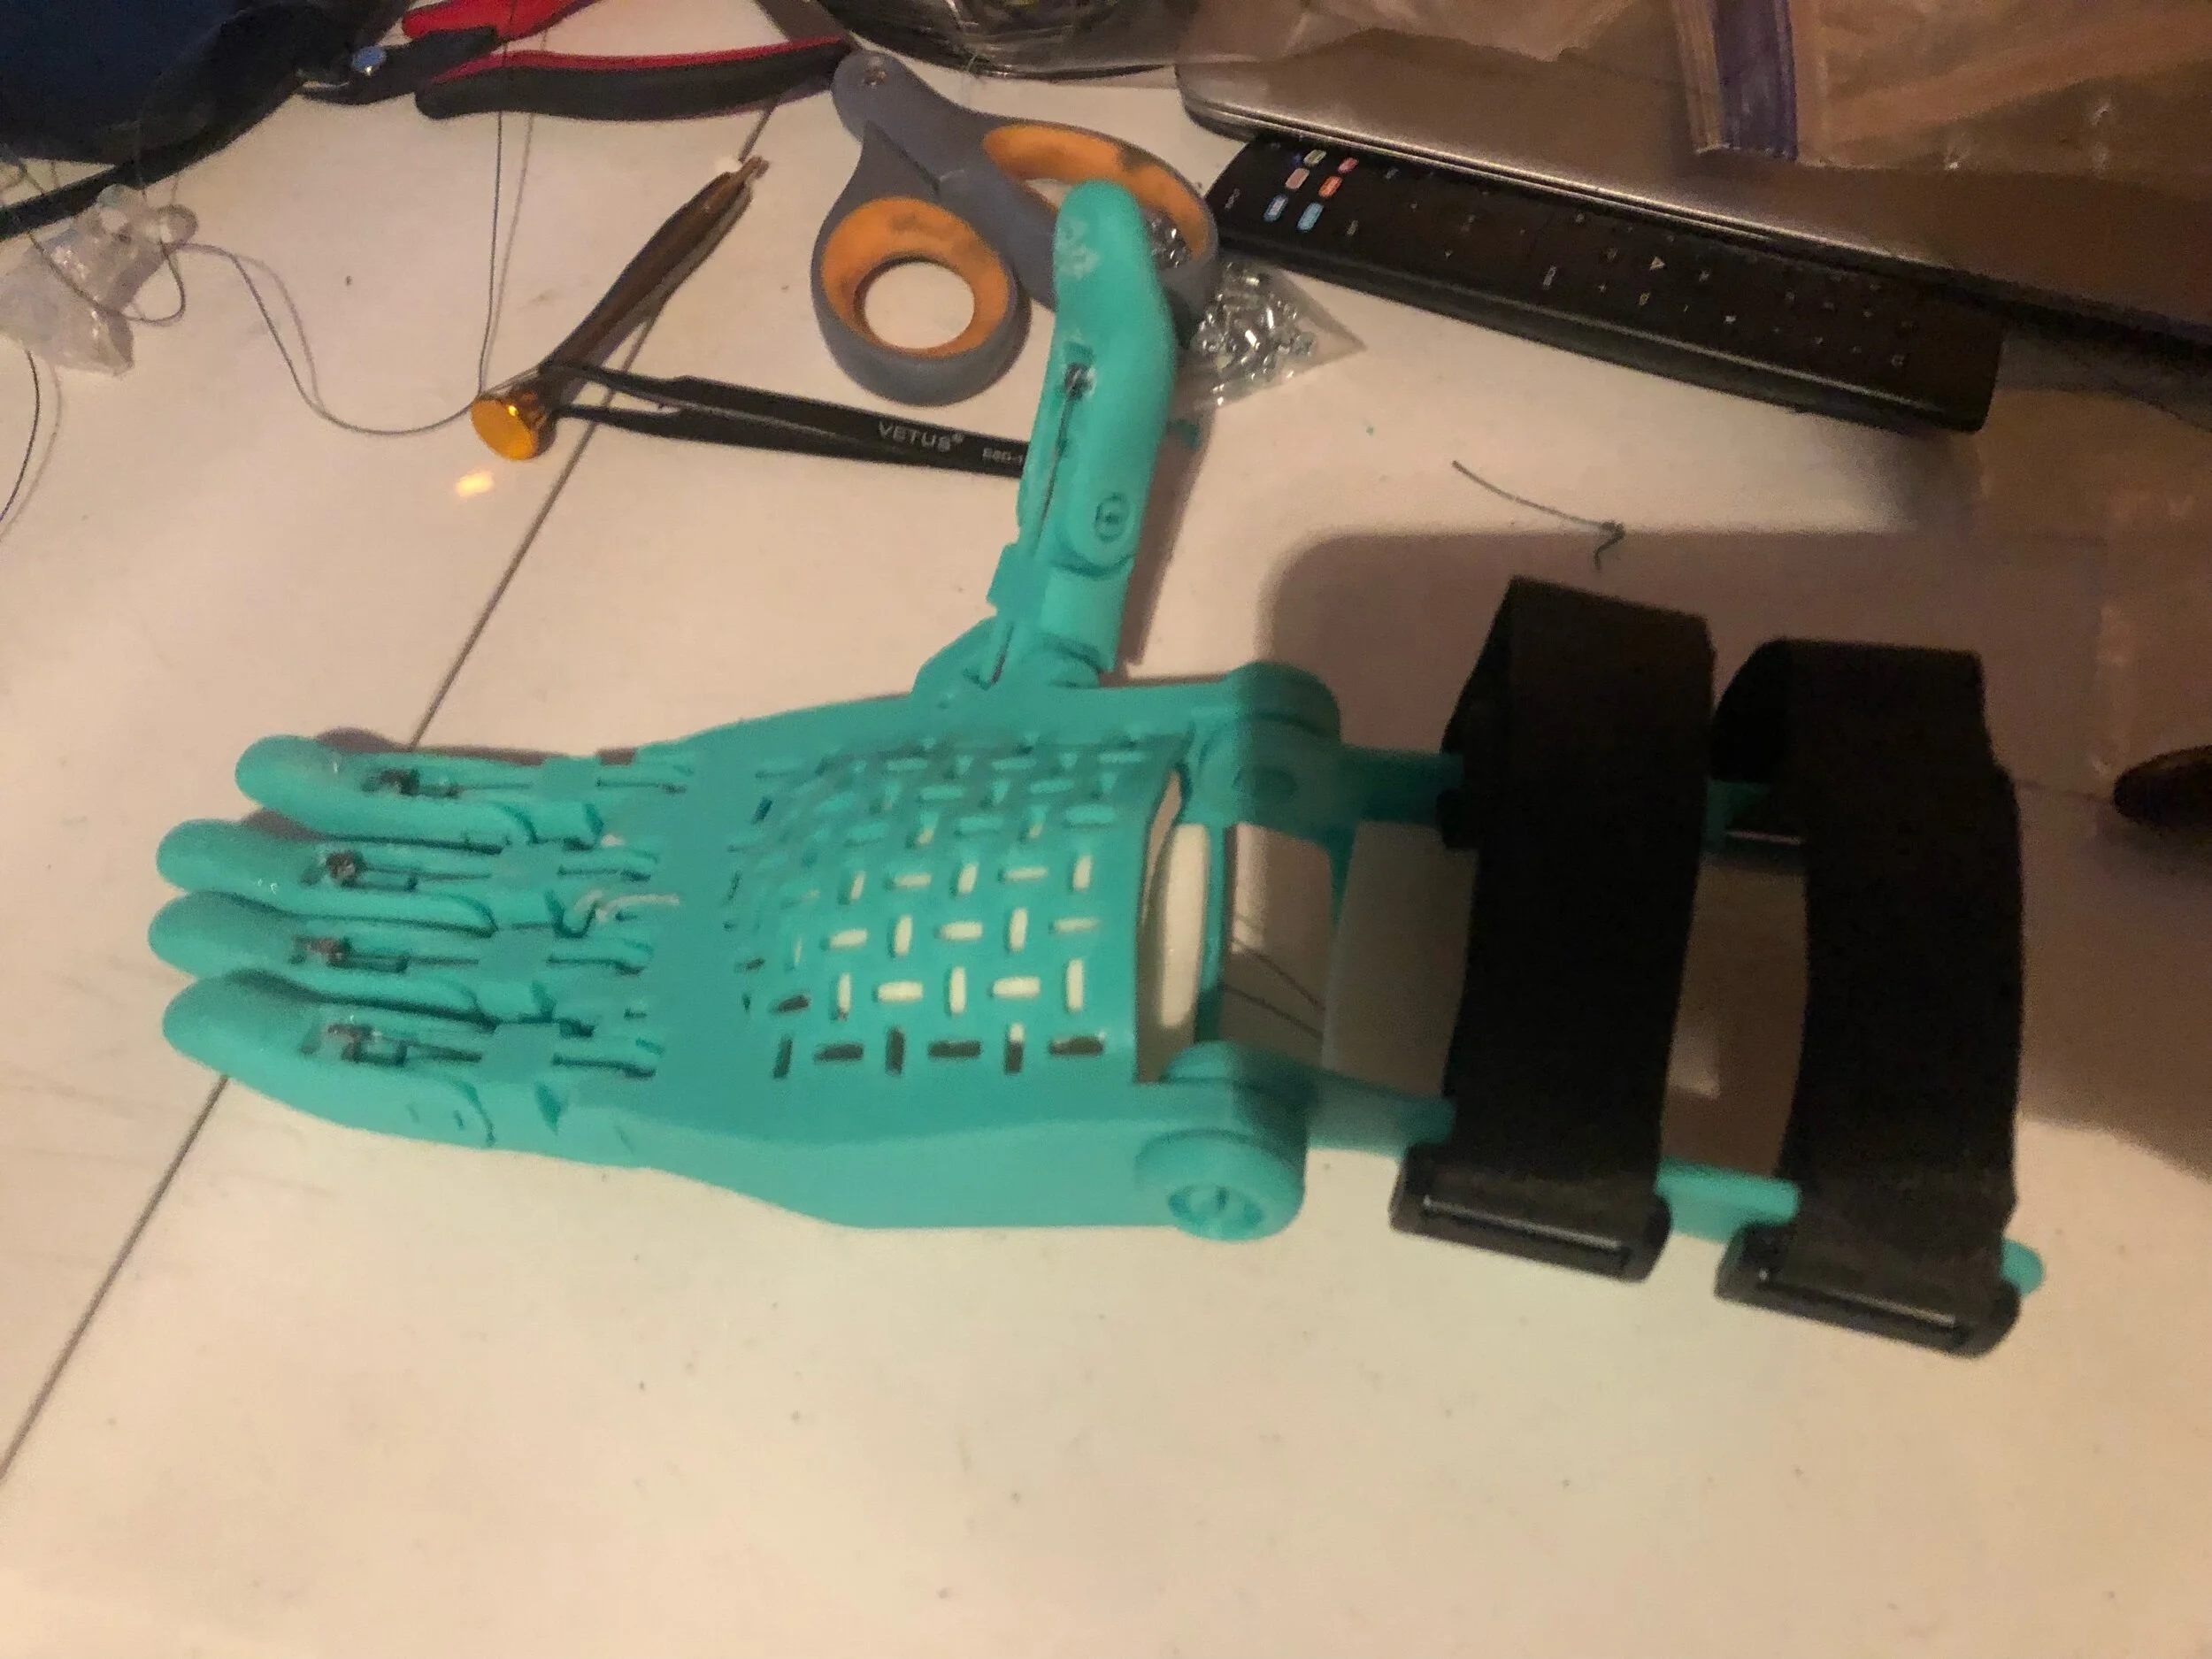
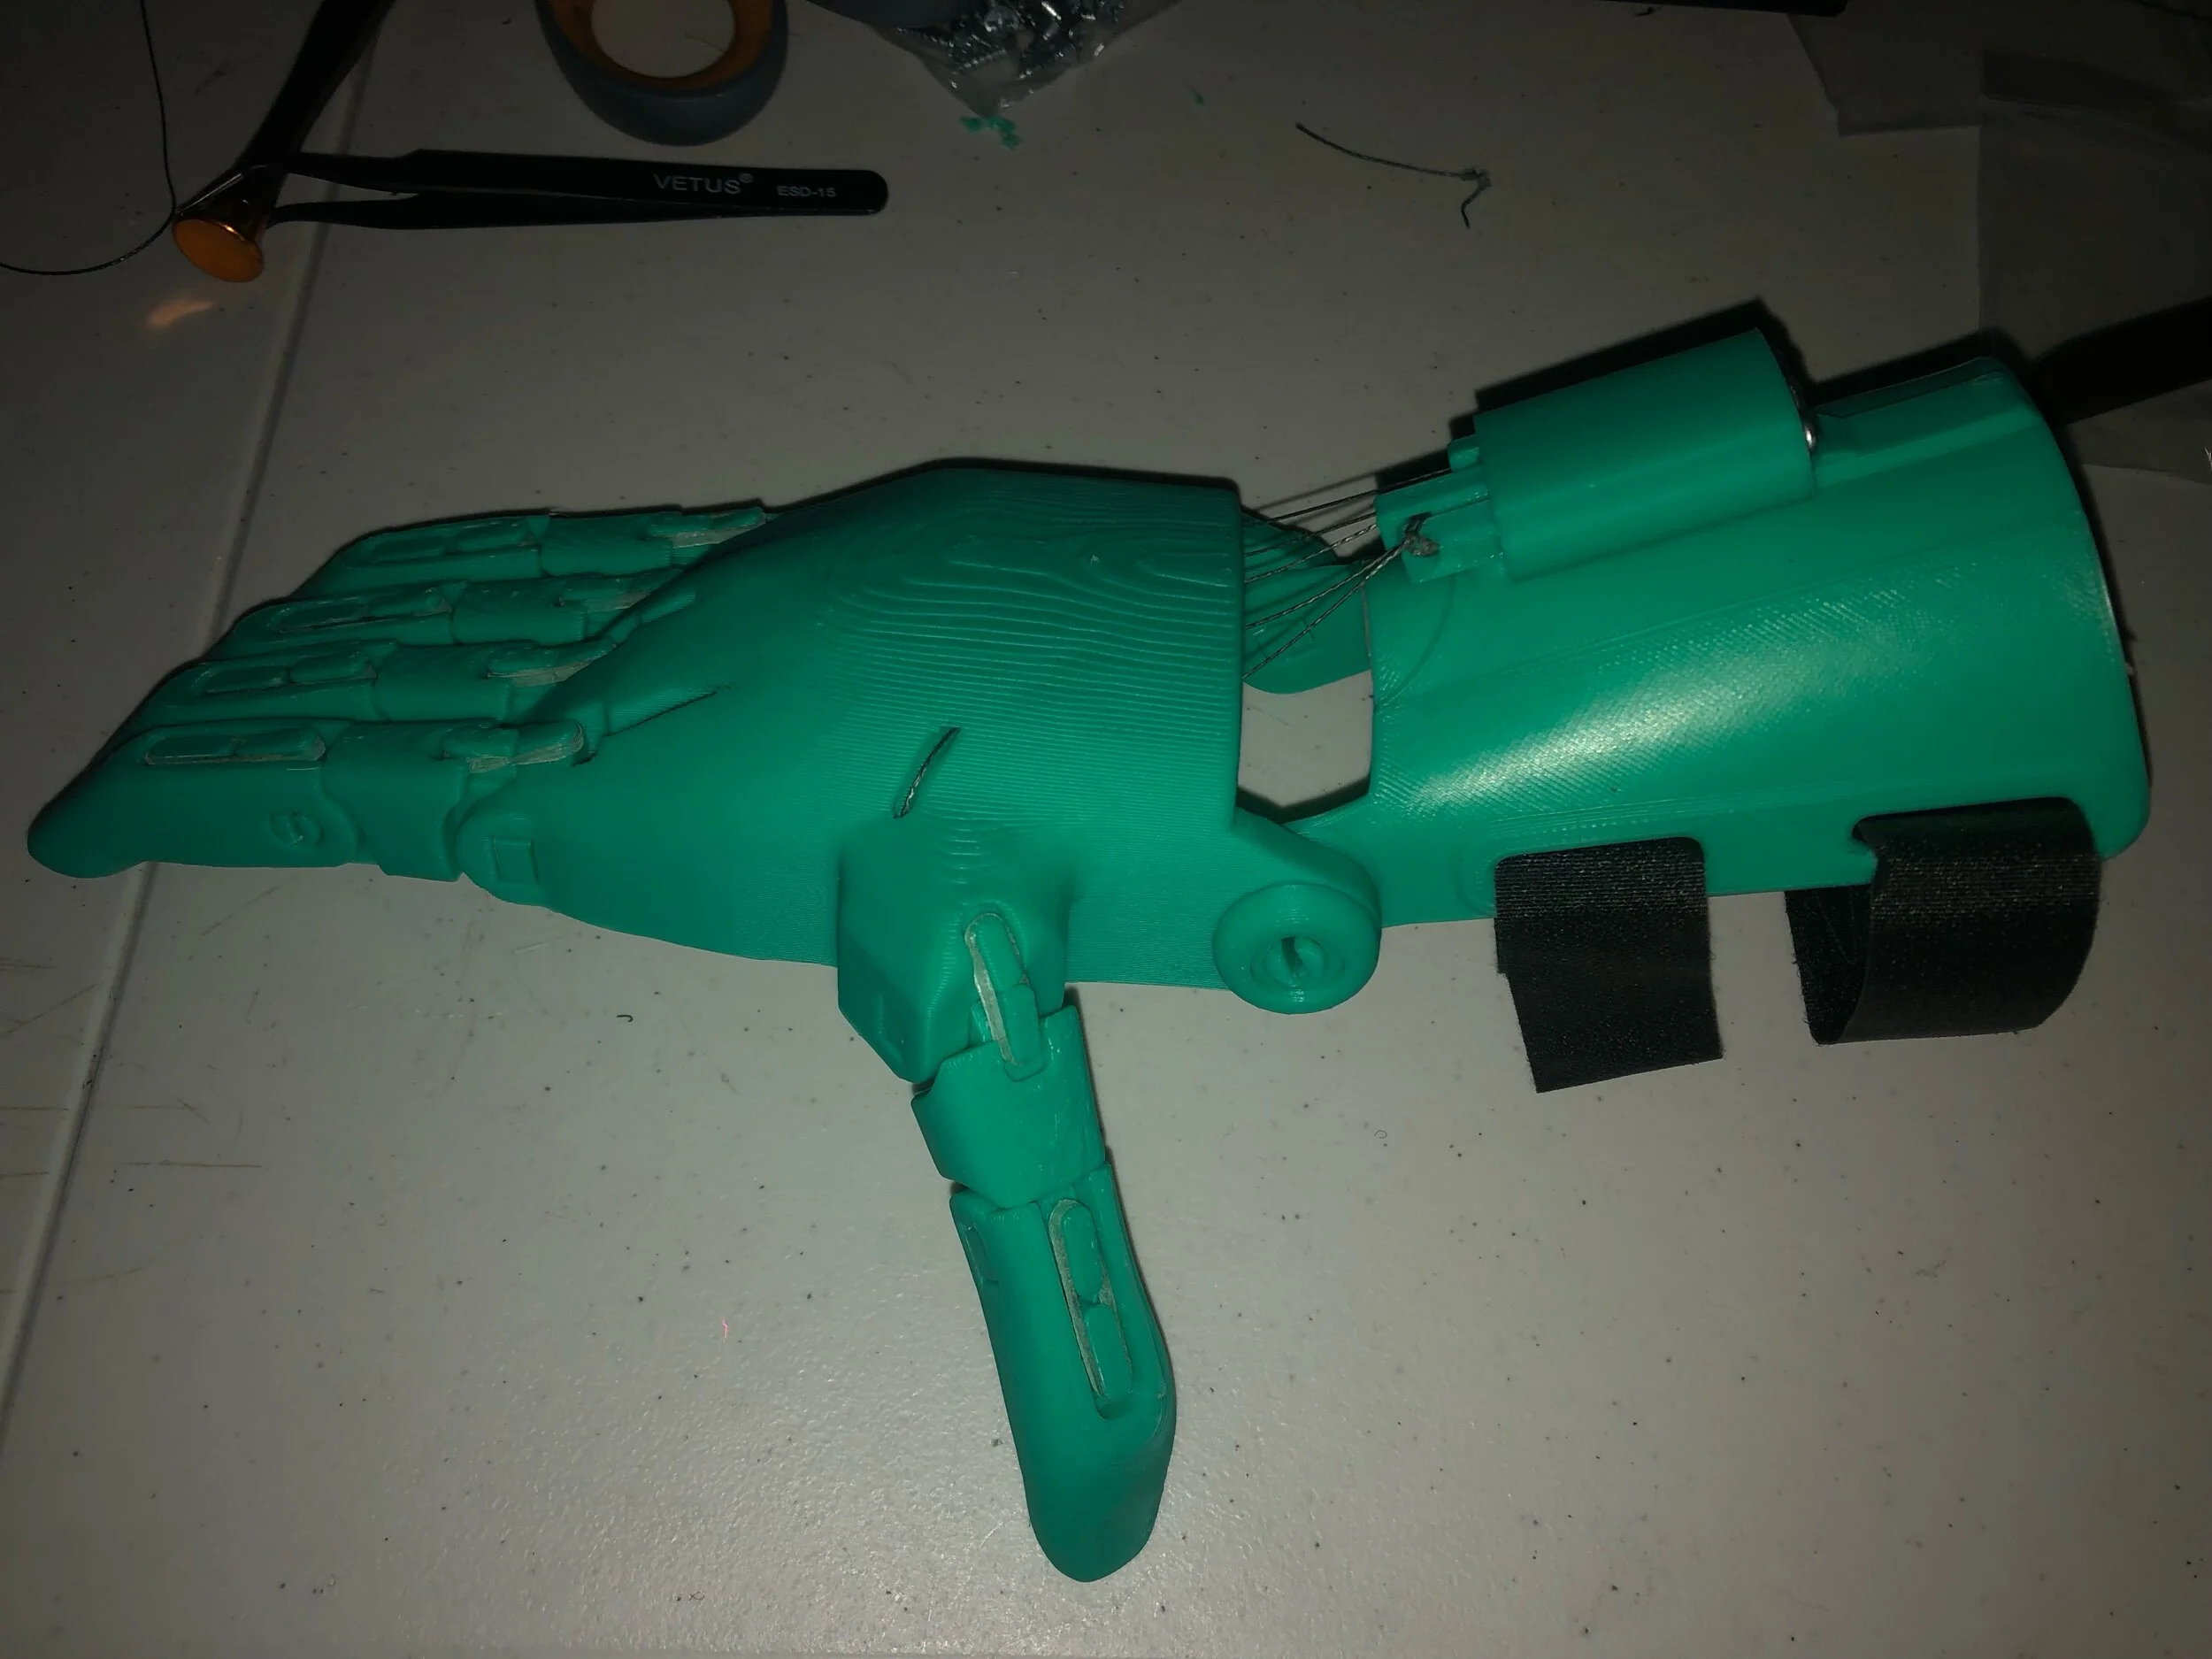
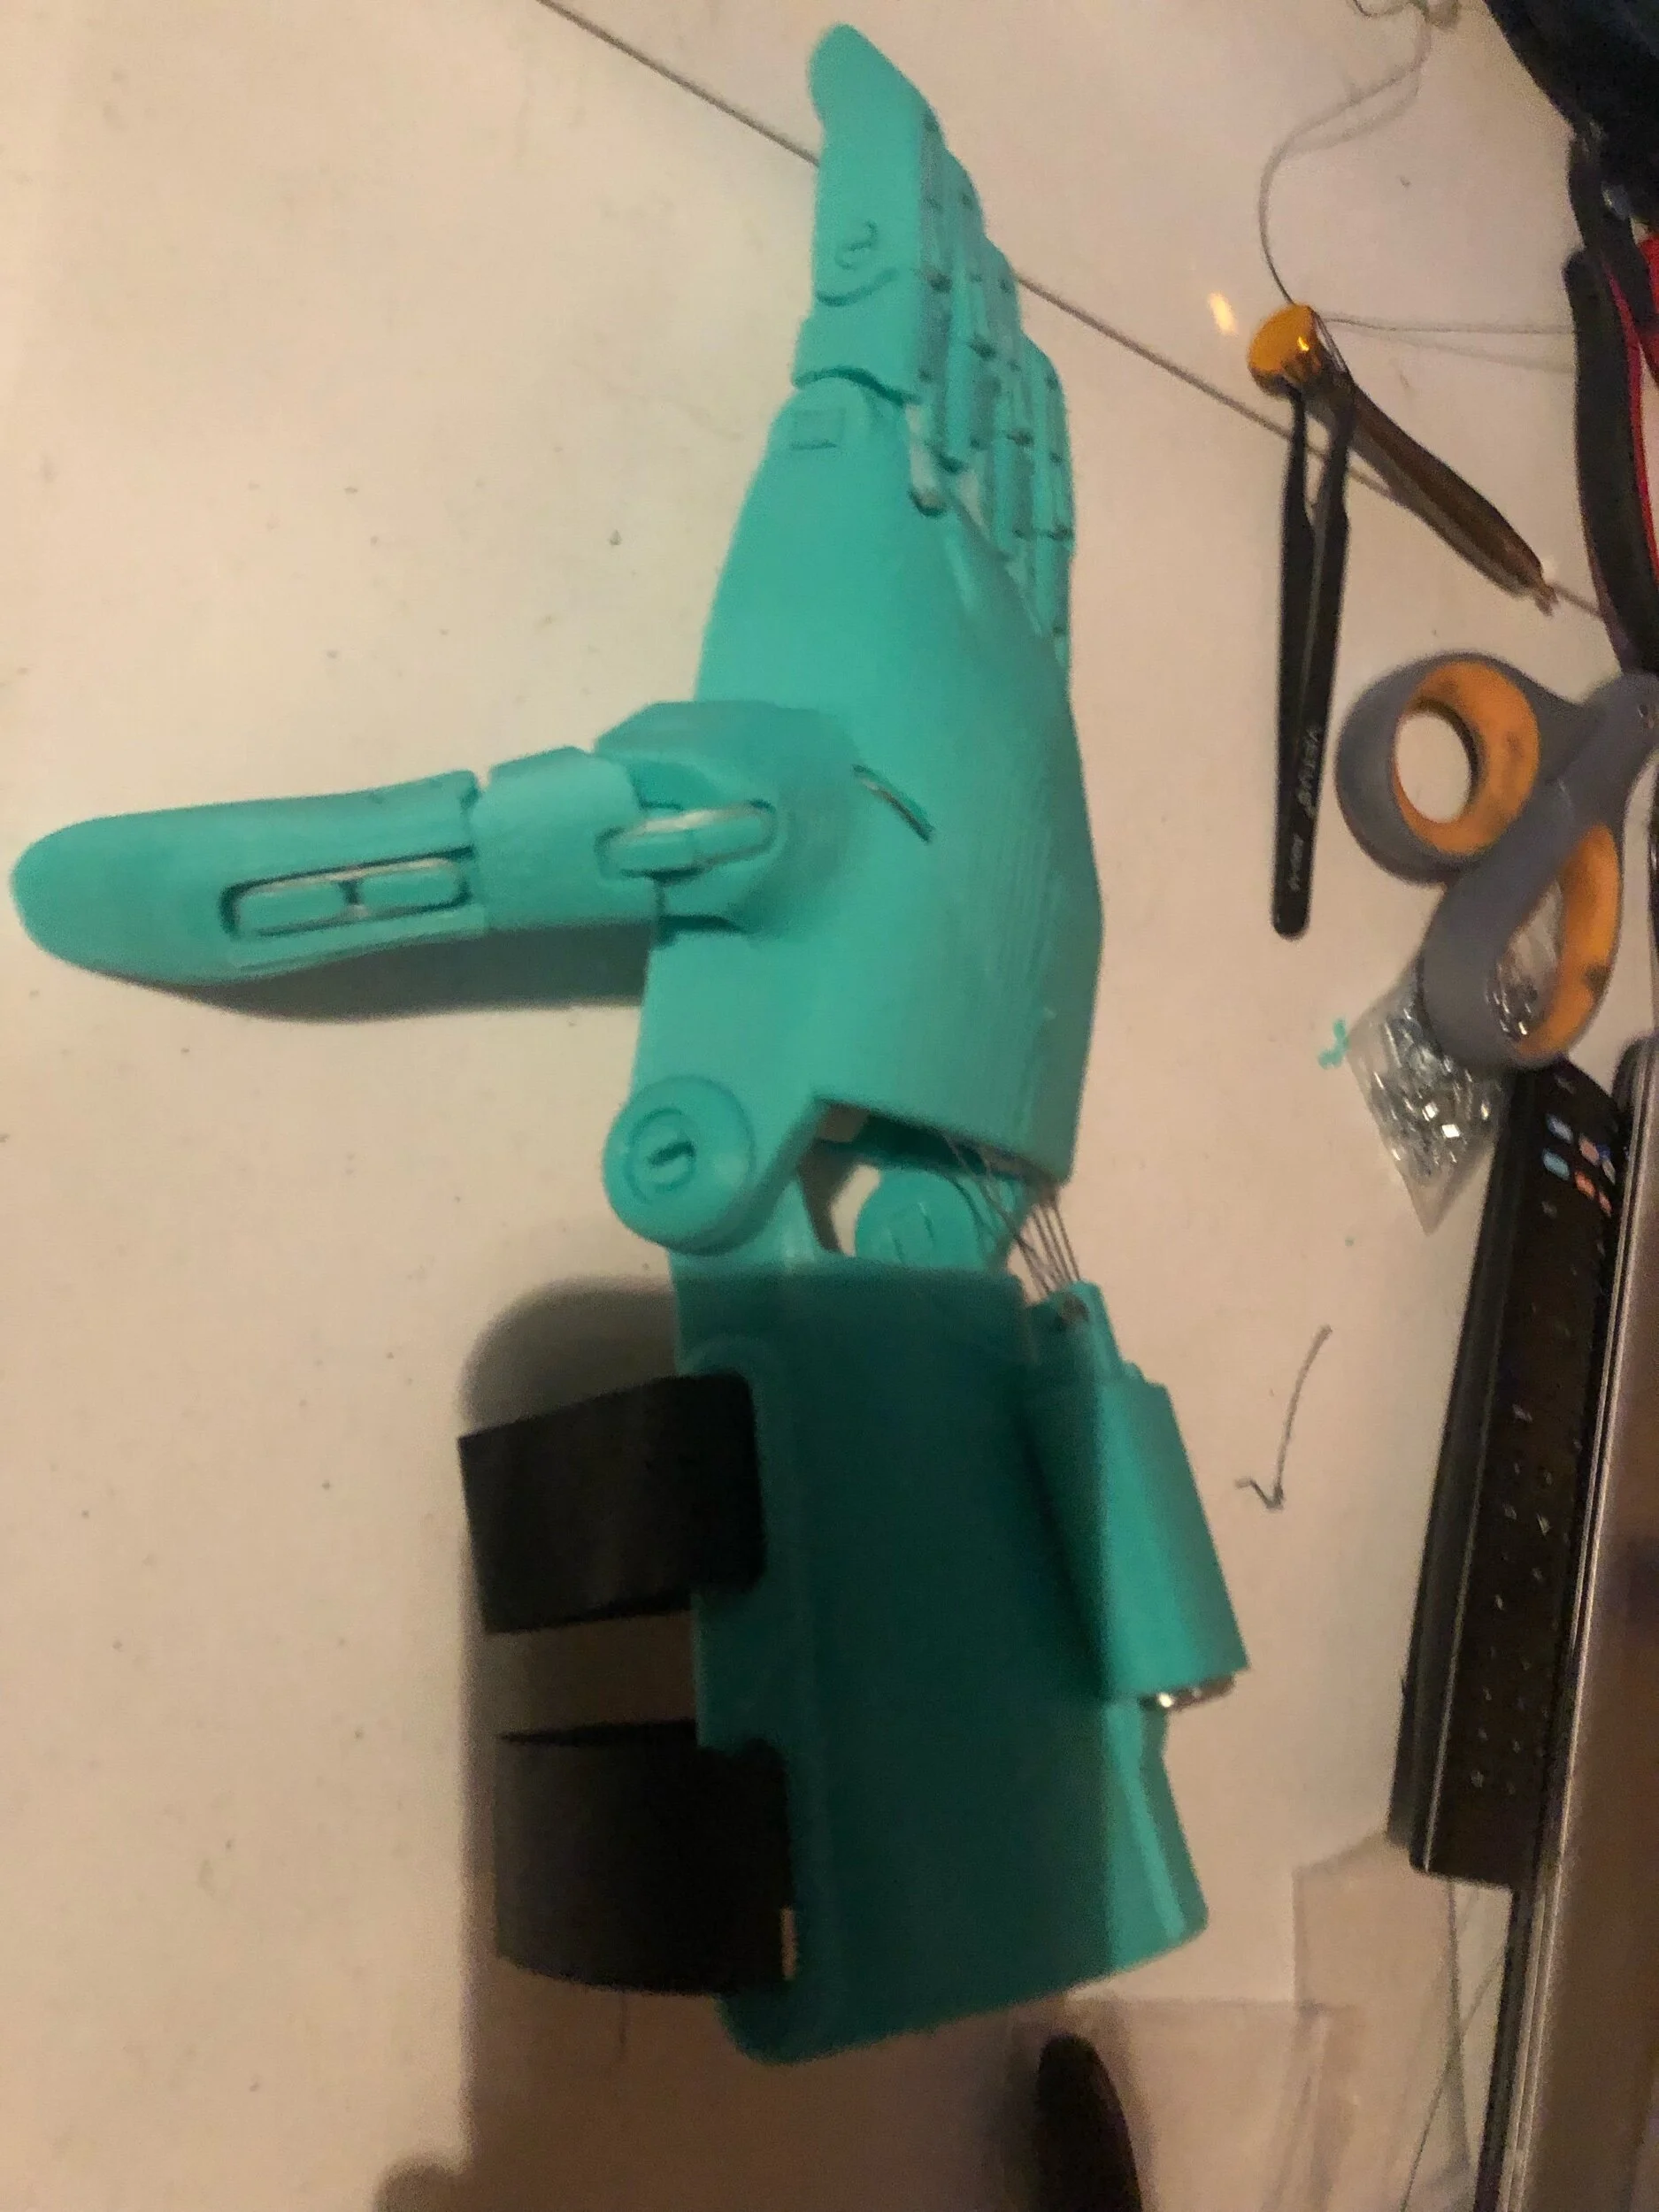
This weekend I wanted to go ahead and print an E-E-nable Phoenix arm and sign up for the network.
EL Wire Neon Sign
I Had some EL wire that I bought to play around with a while back and I wanted to do a project with it. I decided to try to emulate a neon sign using the wire and a micro-controller. I laser cut some acrylic and engraved a groove to fit the EL wire into.
Falling Mannequin Arm For Halloween
I wanted to make a mannequin with an arm that could fall off remotely for Halloween. My first Idea was to use an electromagnet, however, I was not able to obtain one that was strong enough. I ended up using permanent magnets on both the torso and arm with an embedded a servo that would push off the arm.
Printer Enclosure
Bond Tech Extruder Upgrade
I have had it working for a while now but to get to this point I’ve taken my extruder assembly apart upwards of 50 times to address misaligned gears, a melted housing(more on this later), clogged nozzles, the hot end being in the wrong way, the P.I.N.D.A probe not working, the thermister wires breaking(twice), print cooling fan wires breaking, and a broken housing. In total, I ended up printing 3 housings, 2 from PETG(my first time printing this) and one in ABS. The first time I attempted to make this modification, I put in the hot end turned the wrong way to the heater block touched against the front extruder housing that directed the cooling fan air and caused it to melt. After this, I spent around 2 months trying to figure out what happened that caused it to no longer be possible to set a reasonable z offset. I ultimately figured out this was the result of two unrelated issues, the first being that the P.I.N.D.A probe was faulty and second is that the printer will not save the z offset value until after you either run the leveling print file(old firmware) or the wizard to set the z height(newer firmware). After addressing these issues I can print ninjaflex with no problem(I was unable to do this with the stock extruder), and I came out of this project with a wealth of new knowledge.
Raspberry Pi Camera Case
I recently changed to octopi for my 3D Printer Client. Octopi has a built in camera monitoring client using the raspberry pi camera module. I could not find any mounts that I liked on thingiverse so I just decided to make one. Total design time: 5 hours Iterations: 3 Build time: 1 hour 30 minutes


3D Printed QR Code Key-Chain
I 3D printed this QR code key-chain that links to my website, created using some code in Openscad.


Tensile Machine Adapter

A few days ago I whipped up this tensile testing machine adapter for the new universal testing machine in the undergrad lab. While it was cathartic to model this in fusion, I do think just a hand drawing and a good machinist would have done just as good.
May 22, 2017
Update: They machined this and it worked perfectly.